Coconut Shrimp: Your Crowd-Pleasing Beach Vacation at Home
Close your eyes for a moment. Can you hear the gentle lapping of waves, feel a warm, salty breeze, and perhaps even catch a distant hint of steel drums? For many, the mere mention of coconut shrimp conjures up this exact sensory experience, instantly transporting us to sun-kissed beaches, vibrant sunsets, and the relaxed joy of a tropical getaway. This isn't just a dish; it's an edible vacation, a crispy, flaky, and utterly delicious escape from the everyday.
Whether you're yearning for that instant connection to the ocean, missing the Gulf Coast's culinary delights, or simply craving an irresistibly crowd-pleasing appetizer or dinner, you'll be thrilled to discover that authentic, restaurant-quality coconut shrimp is surprisingly easy to create in your own kitchen. Forget expensive flights and crowded resorts – your ultimate beach vacation starts right here, with this beloved seafood classic.
The Allure of Coconut Shrimp: A Tropical Escape on a Plate
There's something uniquely magical about coconut shrimp. It’s more than just fried seafood; it’s an experience. The delicate sweetness of the coconut perfectly complements the succulent shrimp, while the golden, crispy exterior provides an addictive texture that keeps you reaching for more. It's no wonder this dish has become a staple on menus from casual beachside shacks to upscale dining establishments, and a cherished favorite for home cooks everywhere.
This dish truly embodies the spirit of a vacation. It’s light yet satisfying, exotic yet comforting, and always leaves you feeling a little brighter. While it might sound like a gourmet endeavor, the process is straightforward, requiring just a few key steps to achieve that perfect crispy exterior and juicy interior. It’s a fantastic option for entertaining, guaranteed to impress guests, or simply for a weeknight treat when you need a mental escape.
Mastering the Art of Crispy Coconut Shrimp at Home
Creating the perfect homemade coconut shrimp is all about attention to detail in a few key areas: selecting your shrimp, crafting the ideal breading, and choosing the best cooking method.
Selecting the Perfect Shrimp
The foundation of any great shrimp dish is, of course, the shrimp itself. For coconut shrimp, size matters. We recommend using large (21/25 count) or jumbo (16/20 count) shrimp. These larger sizes offer more surface area for the delicious coconut breading and remain wonderfully juicy after cooking. Fresh or frozen? Both work wonderfully, but if using frozen, ensure they are fully thawed and meticulously patted dry before you begin. Moisture is the enemy of crispiness!
- Freshness: Look for firm, translucent shrimp with a mild, ocean-like smell. Avoid any with a strong ammonia odor.
- Preparation: Peel and devein the shrimp, leaving the tails on. The tails act as a convenient "handle" for dipping and eating, plus they look fantastic.
Crafting the Irresistible Breading
The breading is where the magic truly happens, creating that signature sweet and savory crunch. A classic three-stage breading process ensures maximum adherence and crispiness:
- Flour Dredge: Seasoned all-purpose flour provides the initial dry layer, helping the egg wash stick. You can add a pinch of salt, pepper, or even a touch of paprika or cayenne for a subtle kick.
- Egg Wash: Whisked eggs create a sticky bridge between the flour and the coconut. Some recipes suggest adding a splash of milk or even a bit of cornstarch to the egg wash for extra crispiness.
- Coconut Coating: This is the star!
- Shredded Coconut: Use unsweetened shredded coconut for a more balanced flavor that allows the natural sweetness of the shrimp to shine, or lightly sweetened for a dessert-like profile. Avoid finely ground coconut; you want those distinct flakes for texture.
- Panko Breadcrumbs: Mixing the shredded coconut with Panko breadcrumbs is a game-changer. Panko (Japanese-style breadcrumbs) are larger, flakier, and absorb less oil than regular breadcrumbs, resulting in an incredibly light and super crispy coconut shrimp. The ratio can vary, but a 1:1 or 2:1 coconut to Panko ratio works beautifully.
Pro Tip for Breading: For the best adherence and crispiness, bread your shrimp and then place them on a baking sheet lined with parchment paper. Chill them in the refrigerator for at least 20-30 minutes before frying. This allows the breading to "set," preventing it from falling off in the hot oil.
The Key to Golden Perfection: Deep Frying (and Alternatives)
While there are alternative cooking methods, the consensus among culinary experts is clear: for that authentic, super crispy coconut shrimp experience, deep frying is the way to go. The quick, intense heat seals in the shrimp's juices while creating an unparalleled golden, crunchy crust.
- Equipment: A heavy-bottomed pot, like a Dutch oven or a deep cast-iron skillet, is ideal. Its even heat distribution maintains a consistent oil temperature.
- Oil Choice: Vegetable oil, canola oil, peanut oil, or grapeseed oil are excellent choices due to their high smoke points.
- Temperature Control: This is crucial! Aim for an oil temperature between 350-375°F (175-190°C). Use a candy/deep-fry thermometer to monitor it closely. Too cool, and the shrimp will be greasy; too hot, and the exterior will burn before the shrimp is cooked through.
- Batch Frying: Do not overcrowd the pan. Fry the shrimp in small batches to avoid dropping the oil temperature, which leads to soggy results. Fry for 2-3 minutes per side, or until golden brown and cooked through.
- Drainage: Once cooked, transfer the shrimp to a wire rack set over paper towels to drain excess oil. This ensures maximum crispiness.
While deep frying yields the absolute best results, for those seeking a lighter option, you can explore baking or air frying:
- Air Frying: Preheat your air fryer to 375-400°F (190-200°C). Lightly spray the breaded shrimp with cooking spray. Cook for 8-12 minutes, flipping halfway, until golden and crispy.
- Baking: Bake on a wire rack set on a baking sheet at 400°F (200°C) for 15-20 minutes, flipping halfway. While tasty, baked versions will likely be less crispy than their deep-fried counterparts.
No matter your chosen method, the goal is always a succulent interior encased in a wonderfully crunchy, flavorful coating. Learning to make this dish at home truly lets you bring the beach to your kitchen, turning a craving into a delightful reality.
Elevating Your Coconut Shrimp Experience: Sauces & Sides
A perfectly cooked batch of coconut shrimp is magnificent on its own, but it truly shines when paired with the right accompaniments.
Dipping Sauces Beyond the Basics
The classic pairing for coconut shrimp is a sweet chili sauce or a sweet and sour sauce, offering a delightful contrast to the rich fried shrimp. But why stop there? Elevate your experience with these creative dipping sauce ideas:
- Sweet Chili Mango Sauce: Combine sweet chili sauce with finely diced fresh mango, a squeeze of lime juice, and a sprinkle of cilantro.
- Pineapple Chutney: A tangy and sweet chutney made with fresh pineapple, ginger, and a hint of spice.
- Spicy Sriracha Mayo: Mix mayonnaise with sriracha, a touch of honey, and a dash of rice vinegar for a creamy, zesty kick.
- Key Lime Aioli: Whisk together mayonnaise, Key lime juice, garlic, and a pinch of salt for a bright, citrusy dip.
- Apricot Dipping Sauce: Warm apricot preserves with a touch of rice wine vinegar and a pinch of red pepper flakes for a sweet and tangy option.
Perfect Pairings: What to Serve With Coconut Shrimp
Whether you're serving coconut shrimp as an appetizer or the main event, choosing the right sides can complete your tropical feast.
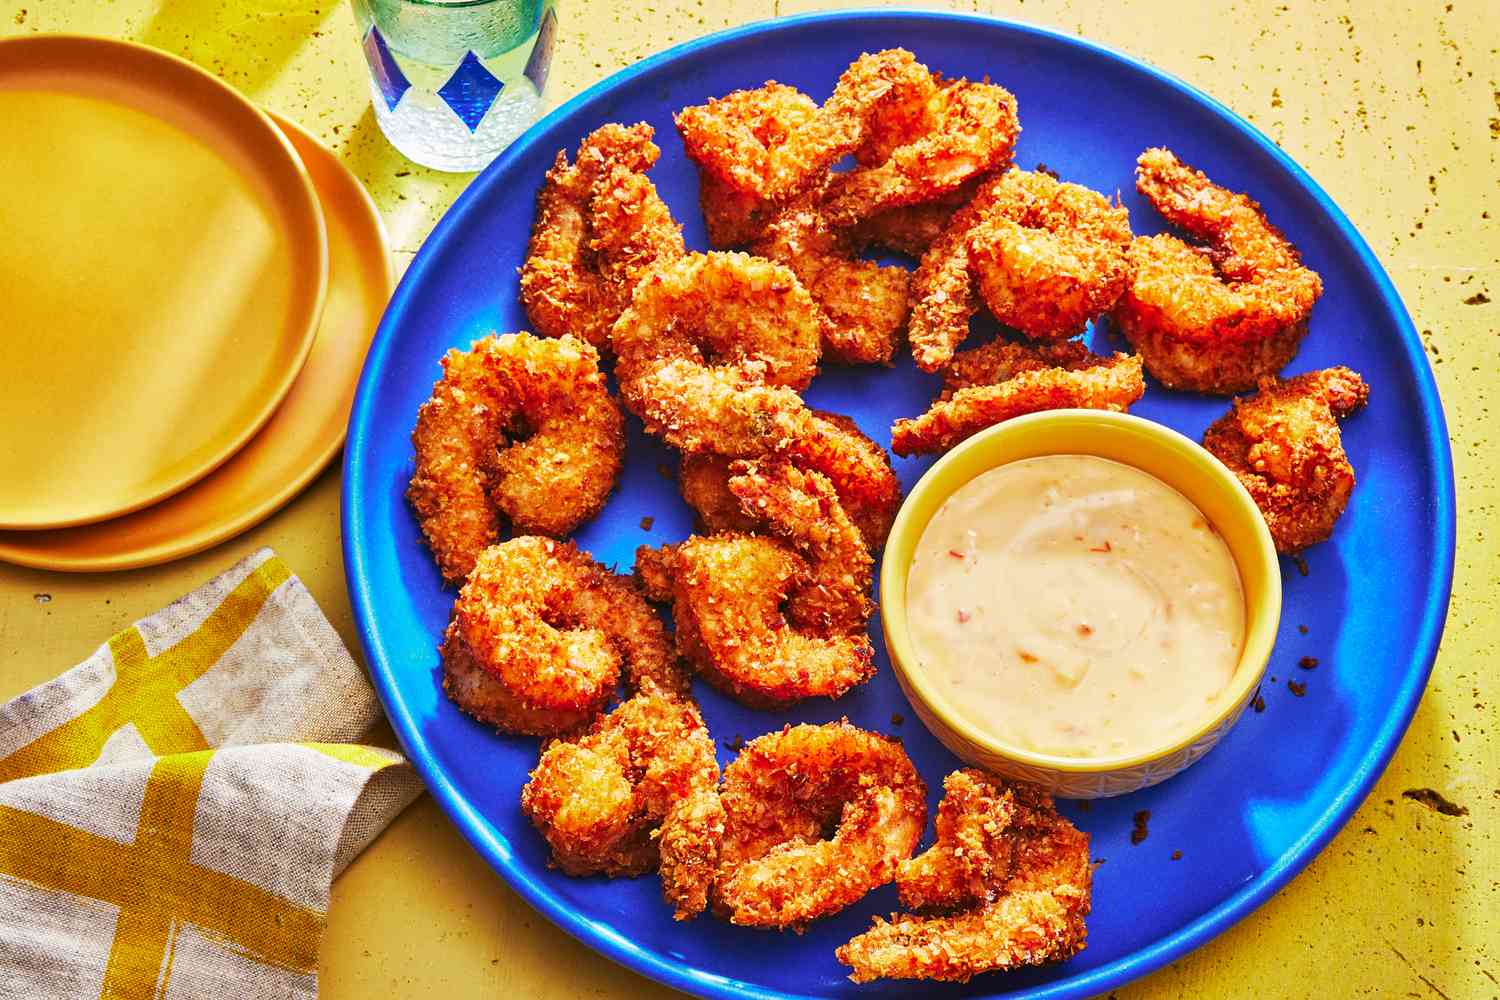
- As an Appetizer: Arrange freshly fried shrimp on a platter with an assortment of dipping sauces. Garnish with lime wedges and fresh cilantro. Consider accompanying them with other fried delights like the mentioned Fried Pickle Chips or Corn Nuggets for a fun, casual spread.
- As a Main Course:
- Jasmine Rice or Coconut Rice: Simple, fluffy rice provides a wonderful base. Coconut rice enhances the tropical theme beautifully.
- Tropical Slaw: A vibrant coleslaw made with shredded cabbage, carrots, red bell pepper, and a dressing featuring lime juice, honey, and perhaps a touch of pineapple.
- Grilled Pineapple or Mango Salsa: Adds a fresh, fruity counterpoint to the richness of the fried shrimp.
- Steamed Asparagus or Green Beans: For a touch of freshness and balance.
- Light Salad: A simple green salad with a citrus vinaigrette keeps the meal light and refreshing.
Tips for Coconut Shrimp Success
- Start Dry: Always pat your shrimp thoroughly dry with paper towels before breading.
- Set the Breading: Chill breaded shrimp in the fridge for 20-30 minutes before frying to help the coating adhere better.
- Mind the Oil: Use a thermometer to maintain the ideal oil temperature (350-375°F / 175-190°C).
- Don't Crowd: Fry in small batches to prevent the oil temperature from dropping and to ensure even cooking.
- Drain Well: Place cooked shrimp on a wire rack over paper towels to allow excess oil to drain, maximizing crispiness.
- Serve Immediately: For the best texture and flavor, coconut shrimp is best enjoyed fresh from the fryer.
Conclusion
From the moment the tantalizing aroma fills your kitchen to the very first crispy, succulent bite, homemade coconut shrimp delivers an unparalleled experience. It’s more than just a meal; it’s a direct ticket to that carefree, blissful beach vacation feeling, all without leaving the comfort of your home. Easy to make, incredibly delicious, and endlessly customizable with various sauces and sides, this crowd-pleasing dish proves that your tropical escape is always within reach. So, fire up that Dutch oven, whisk those eggs, and prepare to be transported – your delicious journey to paradise awaits!
